
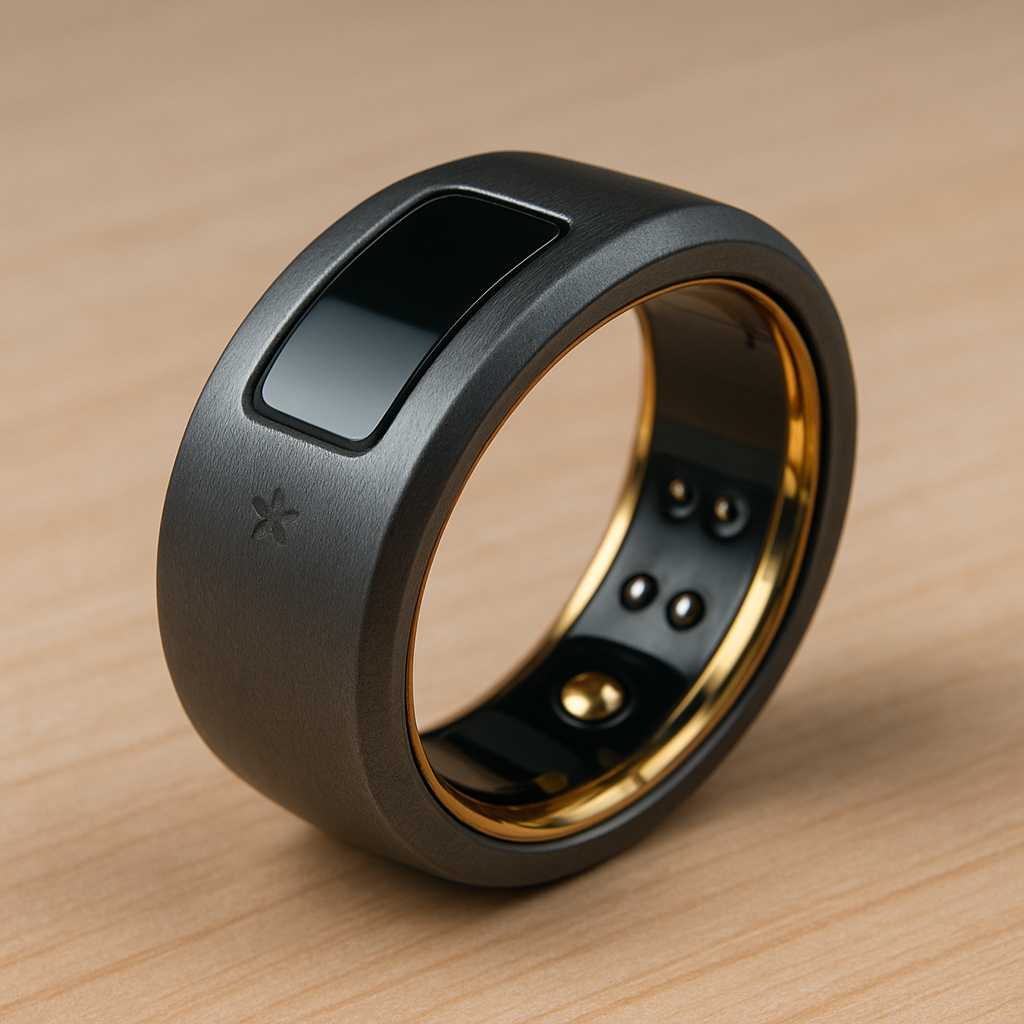
Electronic jewelry merges the elegance of traditional accessories with the interactivity of modern technology. For makers and hobbyists, it’s a creative playground where LEDs, microcontrollers, and sensors become part of the design. The journey from a rough prototype on a breadboard to a polished, wearable bracelet is both exciting and achievable, even for beginners.
Why Electronic Jewelry is the Perfect Maker Project
Unlike large-scale electronics, wearable tech accessories are small, personal, and expressive. They invite experimentation with both form and function. Whether it’s a light-up bracelet that changes color with your mood or a pendant that tracks environmental data, electronic jewelry offers endless possibilities for personalization.
From Concept to Circuit: Planning Your Design
The creative process starts long before you solder your first component. You need to:
Define the Function
Ask yourself: What do you want your bracelet to do? Will it react to motion, display notifications, or simply light up for visual effect? Your purpose will guide the choice of components and materials.
Sketch the Look
Draw out your vision, considering shape, size, and how the electronics will integrate seamlessly. Remember that comfort and wearability are just as important as aesthetics.
Prototyping on a Breadboard
A breadboard is an essential tool for testing your circuit before committing to a final design. It allows you to experiment without soldering, so you can swap out components and troubleshoot easily.
Here are some common steps in the breadboard stage:
- Assemble the microcontroller and basic power source.
- Connect LEDs, sensors, or other functional components.
- Test code to verify interactions and effects.
- Adjust circuit layout for efficiency and compactness.
This stage is where creativity meets problem-solving, expect to make changes as you go.
Moving Toward Wearability
Once your circuit works reliably on a breadboard, it’s time to make it wearable. This is where size, durability, and style become critical.
Materials and Tools You’ll Need
Here’s a starter list of what you’ll need for building a simple LED-based bracelet:
- Microcontroller board (Arduino-compatible or similar)
- LEDs (standard or addressable like WS2812)
- Battery and holder
- Conductive thread or thin insulated wire
- Switch or button for control
- Breadboard and jumper wires
- Soldering iron and solder
- Decorative materials (beads, fabric, metal bands, etc.)
Choosing the Right Components
Miniaturization is key for jewelry. Look for:
- Small microcontrollers (e.g., ATtiny85, Seeeduino XIAO, ESP32-C3 mini boards)
- Thin, flexible wires or conductive thread
- Low-profile batteries like coin cells or slim lithium-polymer packs
Encasing Your Electronics
Your bracelet needs a casing that protects the electronics and complements the design. This could be 3D-printed, laser-cut, or hand-crafted from resin, metal, or fabric.
Programming Your Jewelry
The magic of electronic jewelry comes from its interactivity. Using open-source programming environments like Arduino IDE or PlatformIO, you can create animations, sensor responses, and even Bluetooth connections.
When you are coding wearable electronics remember to keep power consumption low to extend battery life, use non-blocking code for smooth animations, and test in short cycles to avoid overheating components.
Assembly and Finishing Touches
With the final circuit soldered and enclosed, you can focus on style. The best electronic jewelry doesn’t look like a tech gadget at first glance, it’s sleek, elegant, and wearable in any setting.
Here are the steps for the final assembly:
- Mount the components inside your casing or bracelet frame.
- Secure wiring to prevent movement or breakage.
- Add decorative elements to hide electronics while allowing light or sensors to work.
- Test the bracelet in real-world conditions for comfort and durability.
Troubleshooting Common Issues
Even experienced makers run into hiccups. Here are common problems and how to solve them:
- Flickering LEDs: Check connections and ensure consistent power.
- Short battery life: Reduce brightness, optimize code, or upgrade the battery.
- Loose wires: Reinforce solder joints or switch to conductive thread.
The Joy of Open-Source Sharing
One of the most rewarding parts of building electronic jewelry is sharing your project with the maker community. Posting schematics, code, and design files allows others to replicate, adapt, and improve on your idea. Sites like GitHub, Hackaday.io, and Instructables are great places to showcase your work.
Ready to Wear Your Creation
From breadboard trials to a fully finished bracelet, the process of creating your own electronic jewelry is a blend of art, engineering, and personal style. With patience, creativity, and a willingness to experiment, you can turn simple components into an accessory that tells a story, your story.
Your bracelet won’t just shine , it’ll light up conversations, inspire curiosity, and maybe even spark someone else’s journey into the world of wearable tech.

